


Facebook conversion API
The Facebook Conversions API, formerly known as Facebook Server-Side API, allows advertisers to send web events from their servers to Facebook. Facebook Conversions API (CAPI) will help you push event and conversion data to Facebook Ads Manager while maintaining user privacy. You can do setup CAPI by yourself, but at Realcore we offer a seamless CAPI setup, that allows you to feed data about conversions to Realcore and then pass it to Facebook Ad Manager, we also give you access to more settings that help you improve attribution on the Facebook side.
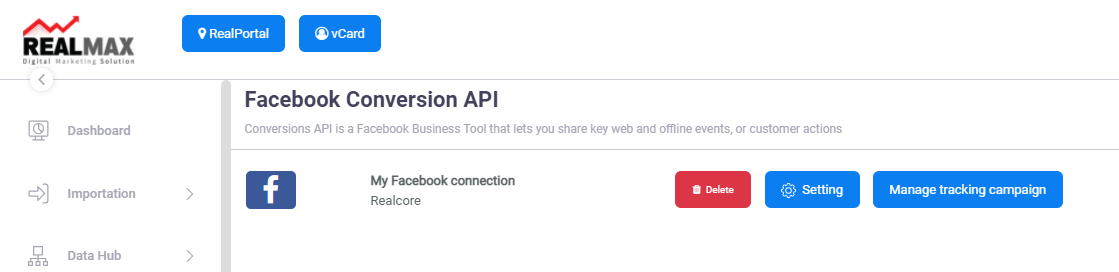
You can access Settings -> Third party -> Facebook Conversion API to integrate your Facebook ad account to CAPI
CAPI setup
Enter your business name and click on the button “Connect to Facebook”, the Facebook popup will be displayed and here you can easily integrate your ad account and pixel id to CAPI step by step.
![]()
After integrating successfully, your connection information will be displayed as below.
Create tracking campaign
In order to send your events to Facebook, after setting up your CAPI connection, you will need to create a tracking campaign that includes your event information and will be used to interact with Facebook CAPI. At this screen, there are many fields and terms that follow CAPI’s standard parameters, your can refer here to get a detailed explanation about them.
To create a new tracking campaign, you can access SettAnalysis -> Tracking -> Campaign Trackingings then click on the button “Add campaign” or you can click on the button “Manage tracking campaign” at the setup CAPI above.
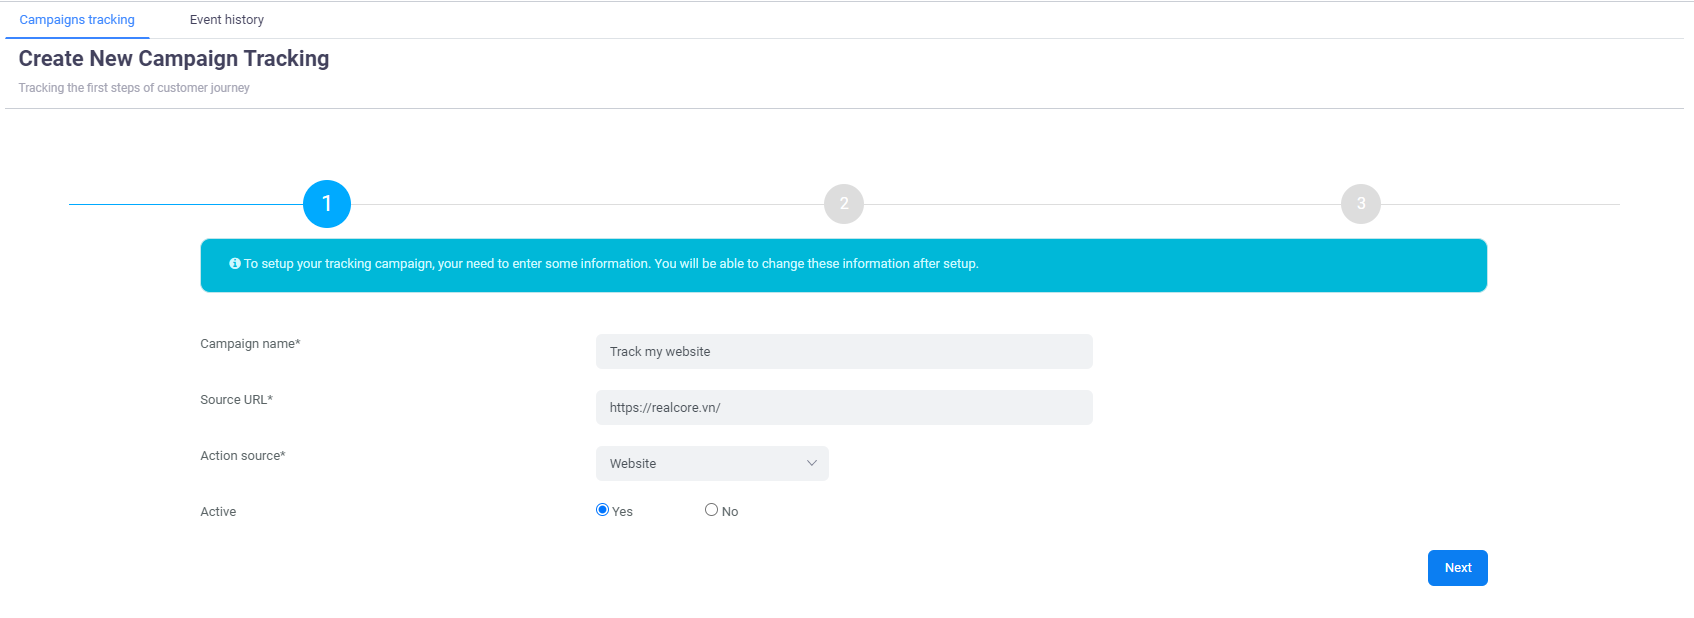
The create tracking campaign will be displayed as above including three steps, at the first step, you need to input the campaign’s basic information:
- Campaign name: your campaign name
- Source URL: the website URL that you want to track
- Action source: this field is a CAPI parameter that allows you to specify where your conversions occurred. Knowing where your events took place helps ensure your ads go to the right people.
- Active: select No if you want to disable this campaign
The second step is about defining CAPI event information. You must select an event then other fields will be rendered based on your selected event.
![]()
The final step is about defining user information that will be used for ads delivery optimization.
![]()
Click “Finish” to save your campaign, after saving successfully, you will be redirected to the list tracking campaigns screen and a popup will be displayed that shows your created campaign’s tracking code.
![]()
Tracking code is a javascript code that you can embed to your website, you can add it to your website body directly which means whenever your website is accessed, an event will be sent to your campaign in Realcore then will be sent to CAPI. Or you can integrate this script to any feature in your website such as purchase, payment,…that requires some coding effort.
Please note that you can change the event data and user data inside this script if you want to track other events as long as you follow CAPI standard parameters.
Events history
This screen displays all events sent from your campaigns then you can easily monitor your campaign traffic as well as to detect which events could not be sent to Facebook. You can access this screen at Analysis -> Tracking -> Event History
At the bottom table, you can click on the icon ![]() to see detailed information about each event. The “Facebook CAPI response” tab displays the response from Facebook after receiving your event, If an event is sent successfully to Facebook CAPI, the response should be something like: {“eventsReceived”:1,”messages”:[],”fbTraceId”:”A9L475X2xozFHH1ikbvYVTT”}
to see detailed information about each event. The “Facebook CAPI response” tab displays the response from Facebook after receiving your event, If an event is sent successfully to Facebook CAPI, the response should be something like: {“eventsReceived”:1,”messages”:[],”fbTraceId”:”A9L475X2xozFHH1ikbvYVTT”}
![]()